Build a fully compliant LoRaWAN gateway

Some time ago, I posted a tutorial on how to build a single channel LoRaWAN gateway. This was an easy and, above all, lost cost solution to quickly get started with LoRaWAN development.
But as you play with this gateway, you discover that the single channel doesn't catch all the packets you send, which can be very frustrating when developping embedded devices.
To be able to build real scenarios, you need a reliable network. This doesn't mean you need buy a professional gateway. With this tutorial, you will still be able to enjoy making things yourself!
This gateway is of hobby grade, this means that putting it in a production system as explained here is not the best thing you could do. There are some point of failure in the design, such as:
- The Raspberry Pi's SD card
- The fact the casing is not dust and water proof (we drill holes to pass the network, power cables and the antenna connector)
- Heat generated inside the box is not especially dissipated, this can lead to problems if the box is put under heavy operating conditions
That being said, having a diy gateway in your lab is the best and most rewarding way to start developping your own LoRaWAN devices, so let's start!
Step 1
Get the needed hardware
- a Raspberry Pi and its SD card (min 4Gb) prepared with the latest raspbian distro - mine is an old v1 model B and works well (you probably already have this waiting on your shelf)
- A 5V 2A power supply for the RPi and the concentrator
- an IMST iC880A-SPI - LoRaWAN Concentrator (you can buy one here)
- an SMA antenna for 868MHz band ( buy here)
- a pigtail cable to plug the antenna on the concentrator ( buy here)
- An enclosure of your choice. Choose one that fits your needs, ie: IP67 for outdoor use
Step 2
Let's make something!

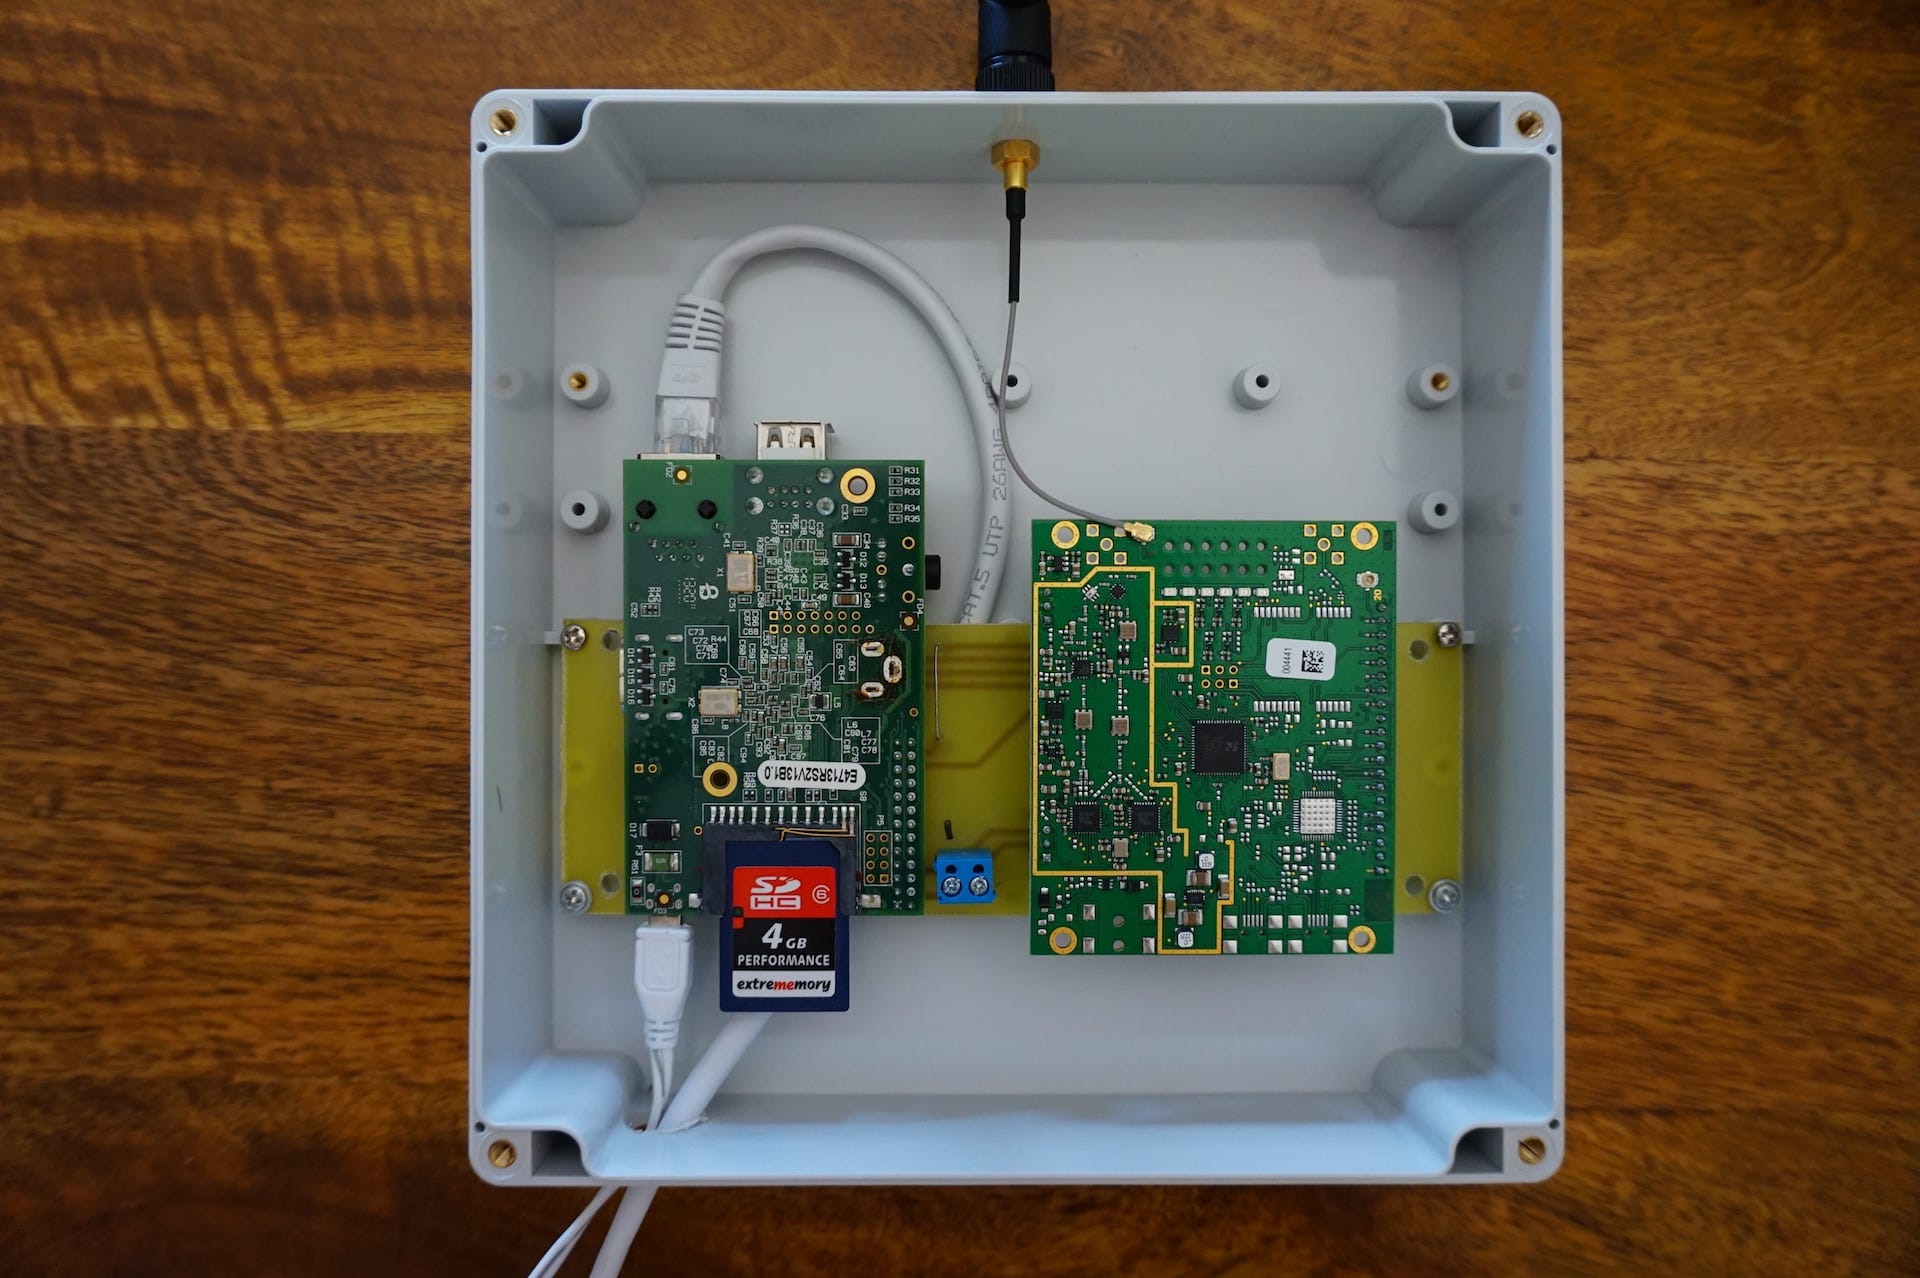
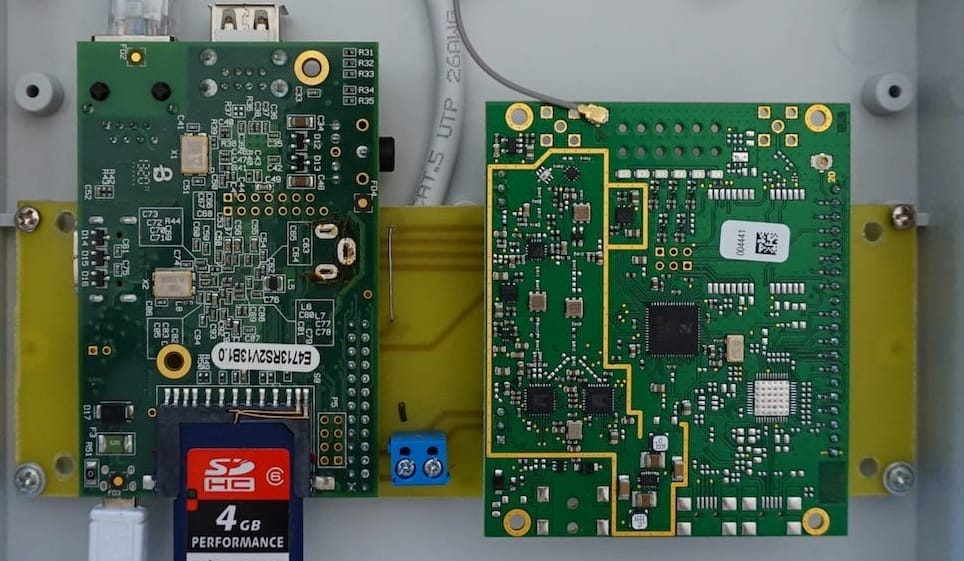
Start by conneting the RPi to the iC880A concentrator. I use a home made etched board to ensure firm connections, but using short soldered wires should also work. Be sure to avoid breadboards and other interference sources!
The following table show the connections:
| RPi physical pin | iC880-A | Function |
|---|---|---|
| 21 | 15 | MISO |
| 19 | 16 | MOSI |
| 23 | 14 | SCLK |
| 24 | 17 | NSS |
| 22 | 13 | RESET |
| 2 | 21 | 5V |
| 6 | 22 | GND |
Connect your Raspberry Pi to the network to be able to install the required software.
Step 3
We now configure and install the required software on the Raspberry Pi.
Enable SPI:
sudo raspi-config
Go to "9 Advanced options" -> "A6 SPI" and enable the SPI bus.
As we are in raspi-config, extend the filesystem:
Go to "7 Advanced options" -> "A1 Expand filesystem". Reboot.
Configure locale and time zone:
            sudo dpkg-reconfigure locales

            sudo dpkg-reconfigure tzdata
Install Git
            sudo apt-get update

            sudo apt-get upgrade

            sudo apt-get install git
Create a new user for TTN and add it to sudoers
            sudo adduser ttn

            sudo passwd ttn

            sudo adduser ttn sudo
As the ttn user will be used to start the gateway software at reboot (and in background), it will be a lot easier to add it to the sudoers file ( warning: this will allow the ttn user to issue commands on the system without asking the password)
sudo visudo
add this line at the bottom of the file
ttn ALL=(ALL) NOPASSWD: ALL
Either change the password for the pi user to something strong or completely remove the default pi user, it's up to you
sudo userdel -rf pi
Download and install the main piece of software that will turn our RPi into a LoRaWAN gateway (I use this library)
Download the package:
wget https://github.com/ttn-zh/ic880a-gateway/archive/master.zip
Unzip the downloaded archive
unzip master.zip
Start the installation and fill in the appropriate information when asked by the installer. Important: note the gateway EUI somewhere as you will need it in the next steps.
            cd ic880a-gateway/

            sudo ./install.sh spi
If you need to re-run the installer to update settings, issue this command (from within the installer directory)
sudo ./install.sh spi
Step 4
To be able to receive and hanlde your devices' messages, you need to register the gateway in your TTN console.
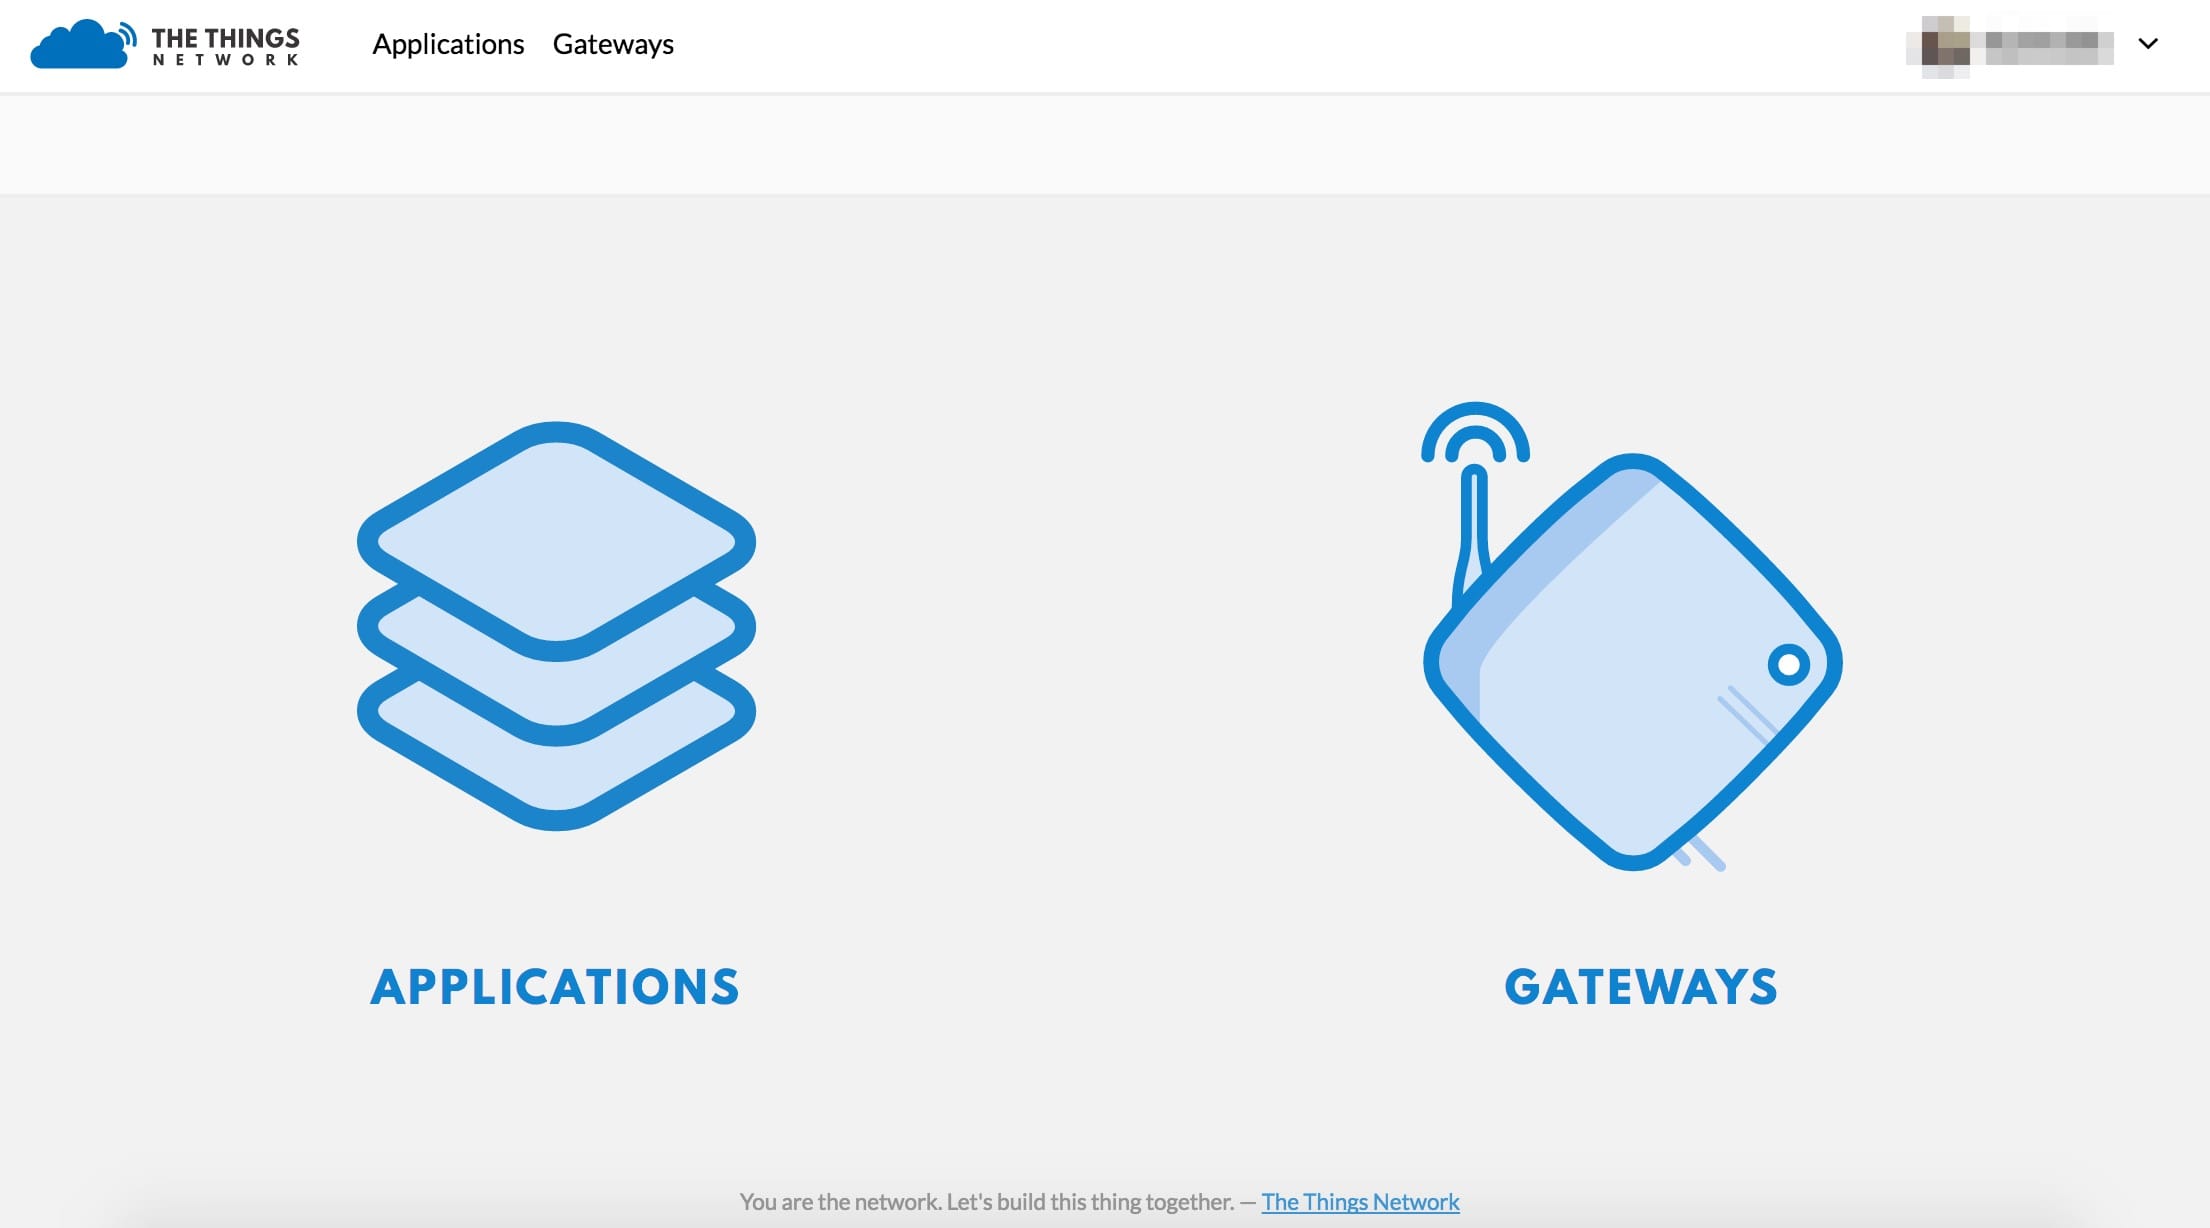
If you don't already have an account, sign up at thethingsnetwork.org, then head over to console.thethingsnetwork.org
You have two options, select gateways.

Then
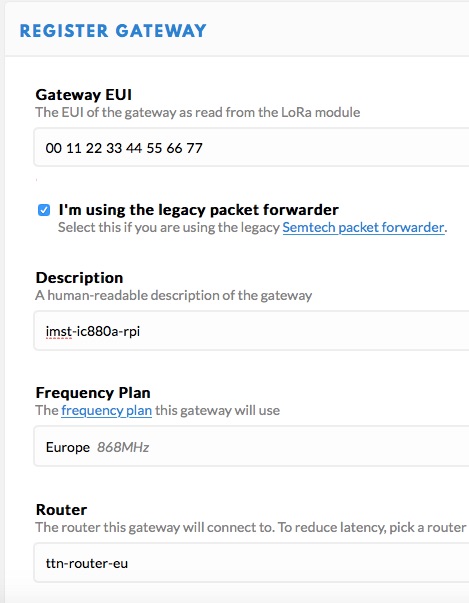
- in the field "Gateway ID", enter the EUI that you noted during the software setup process
- check the box "I'm using the legacy packet forwarder"
- enter a description for your gateway
- choose a frequency plan
- a router is automatically set, change it only if you need to
- set the exact location of your gateway
- choose the placement type (indoor/outdoor)

Check, in the "overview" tab of the gateway, that it's status is "connected"
That's it! You now own a fully compliant LoRaWAN gateway configured for use with The Things Network :-D

